Original link: https://inst.eecs.berkeley.edu/~cs180/fa23/upload/files/proj6/yifengwang/#part-1
0. Intro
As demonstrated in Ren Ng’s 2005 paper, Light Field Photography with a Hand-held Plenoptic Camera, one can achieve depth refocusing and aperture adjustment using very simple techniques such as shifting and averaging. In this project, I reproduced these effects using real lightfield data from the Stanford Light Field Archive.
1. Depth Refocusing
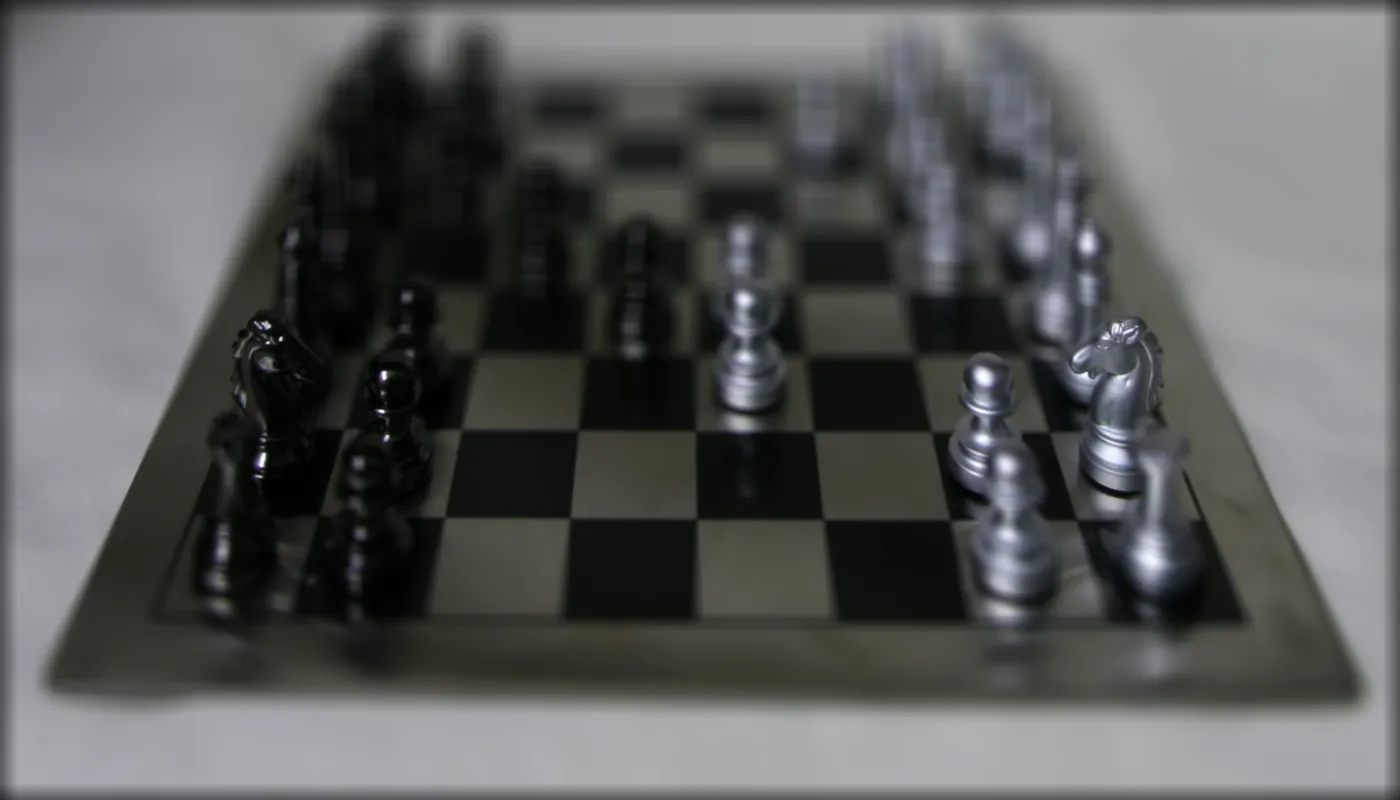
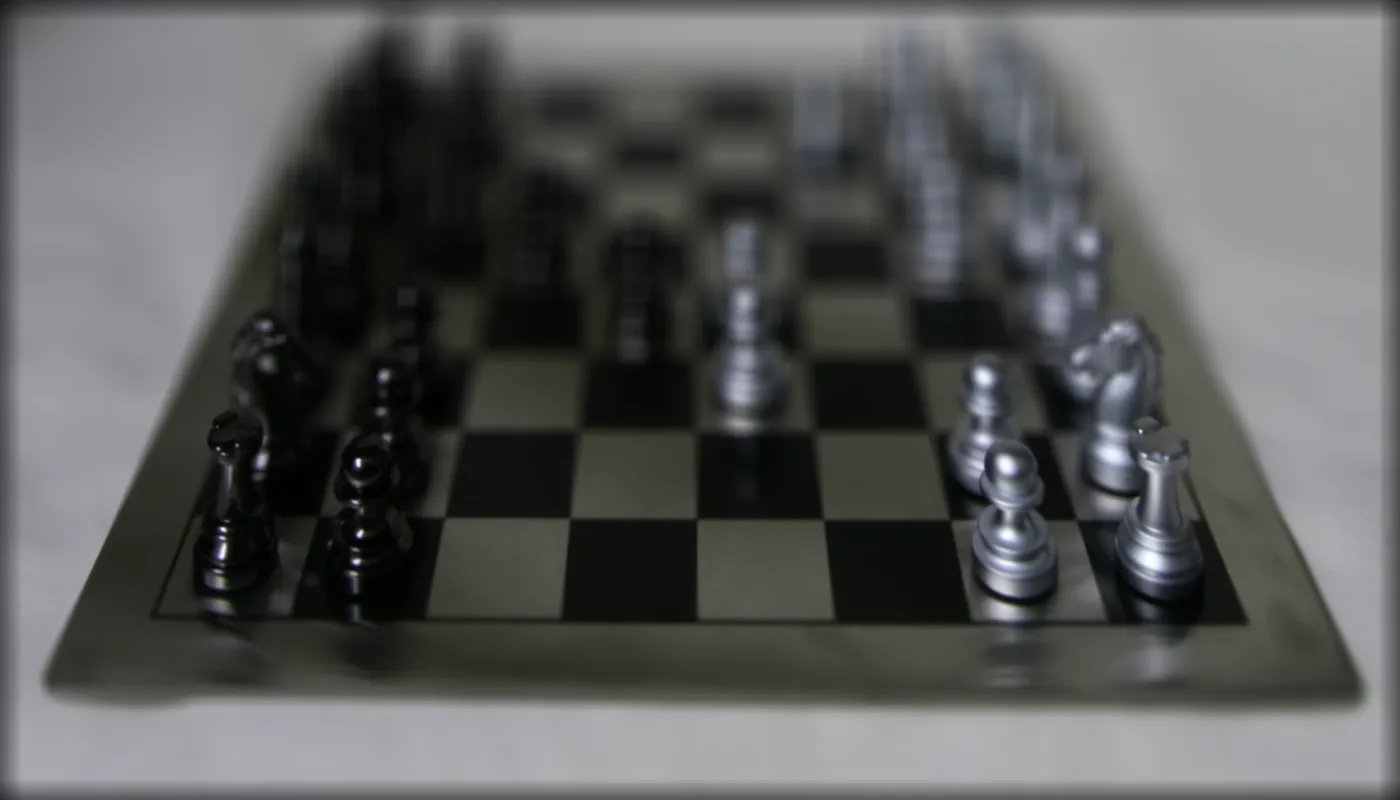
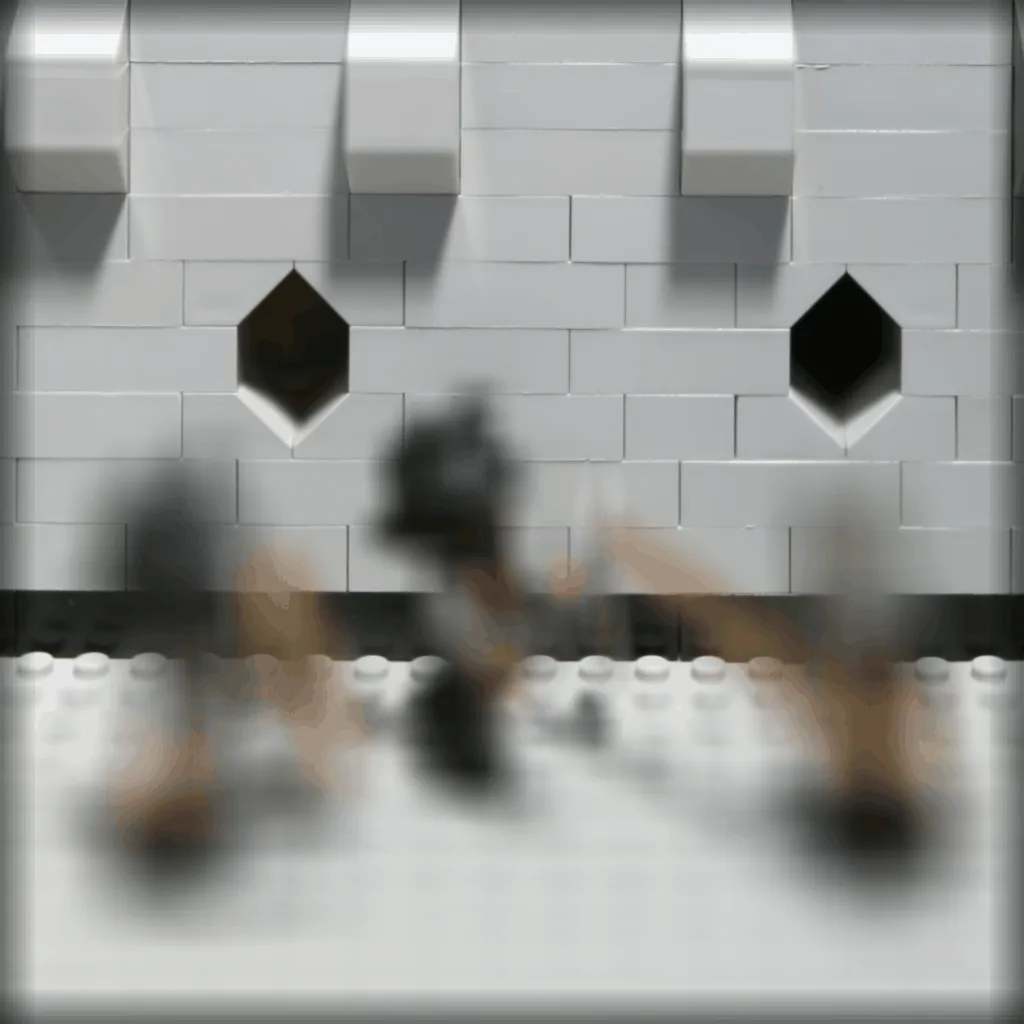
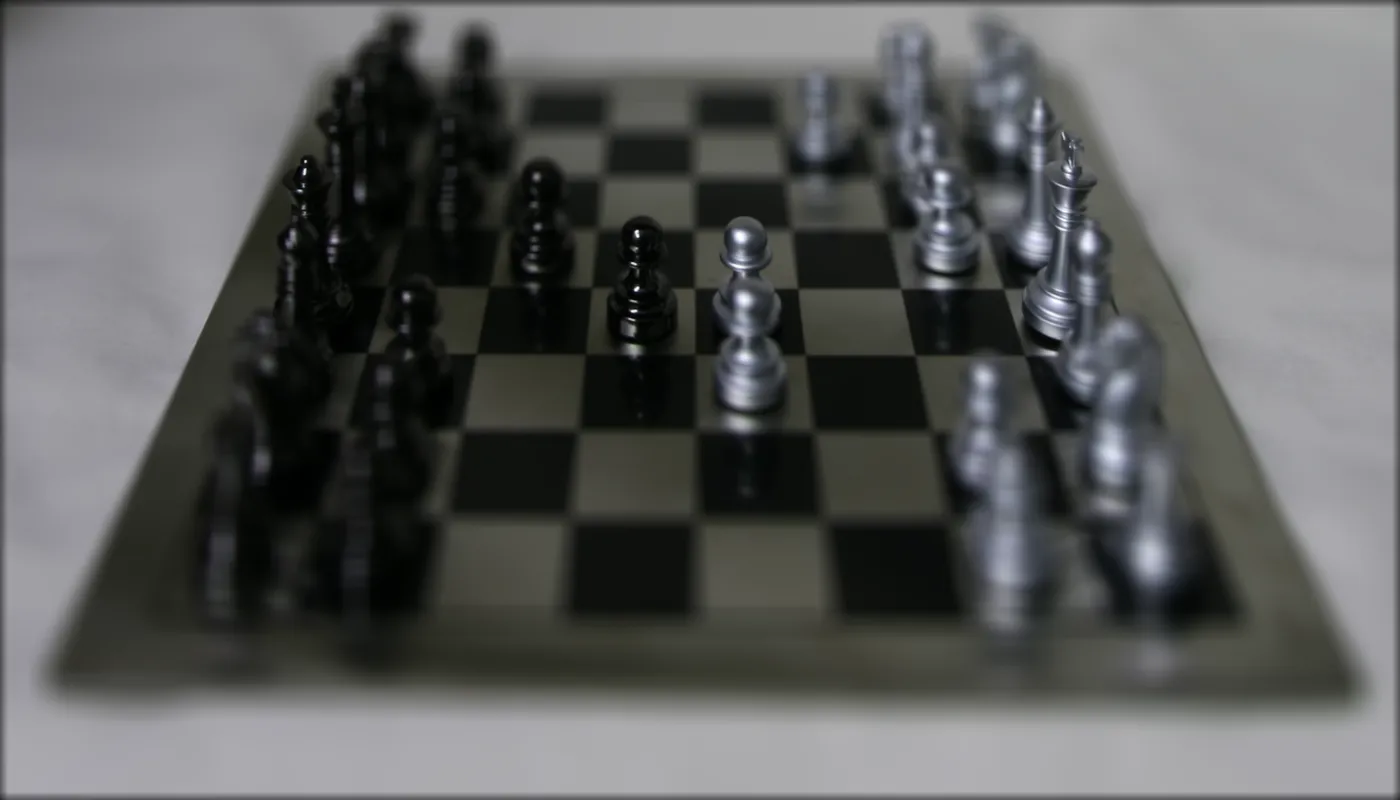
The Stanford Light Field Archive provides us with datasets of images taken over a regularly spaced grid. Let’s first explore the effects of simply averaging all the images.
As we can see, the objects far away from the camera are sharp, because their positions do not vary significantly when the camera moves around (the optical axis direction is unchanged). In contrast, objects closer to the camera appear blurry.
To refocus depth, we can shift the images appropriately with respect to the center image, which is the image with coordinates (8, 8) on the (17, 17) grid. The filename of each image provides the location of their respective view. We subtract from it the location of the view of the center image, and now we have the amount of shift we need. We then introduce a parameter depth, using which we control the amount of the shift, and thus the depth we focus on. In the resulting image, this shows up as a refocused area corresponding to that depth.
Here’s a GIF that visualizes the change in depth of our focus:
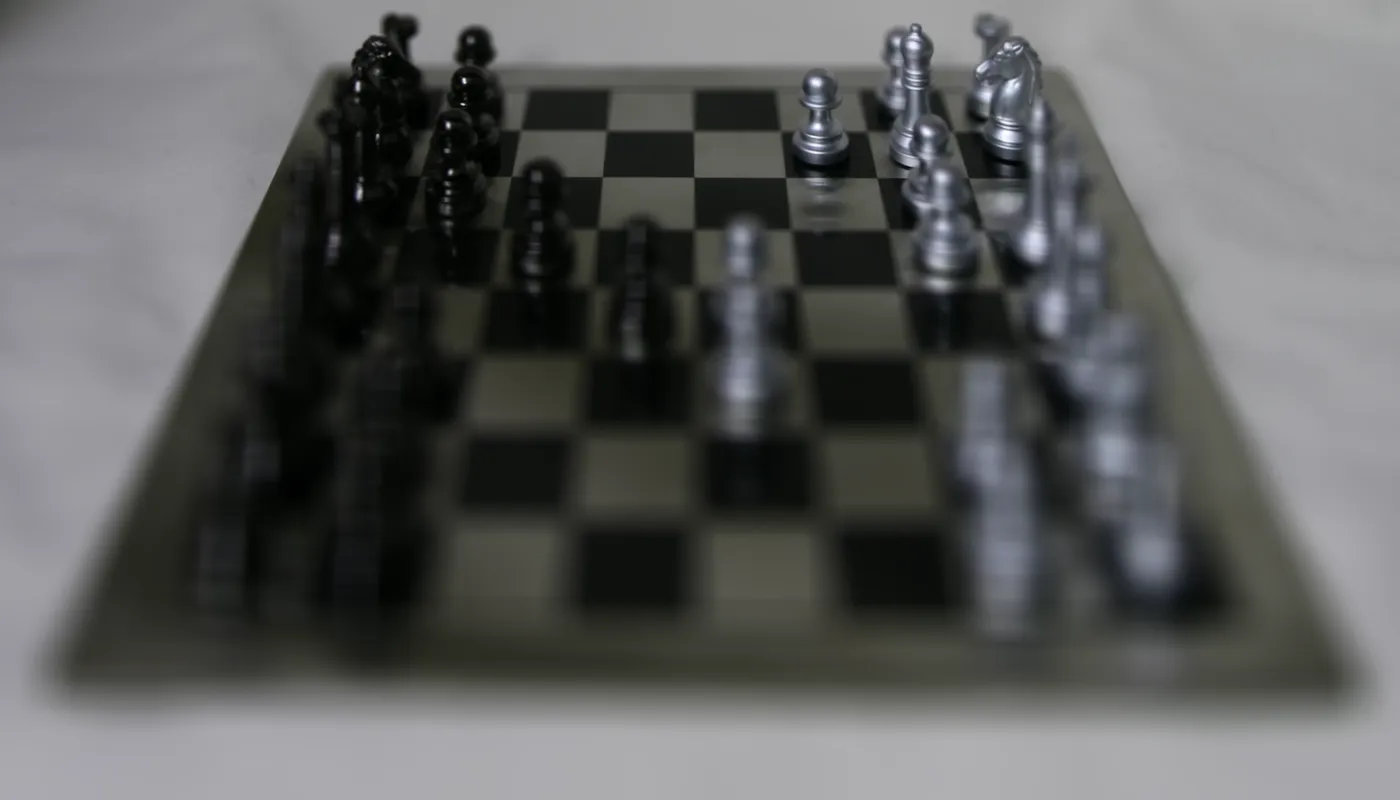
Depth = -0.1
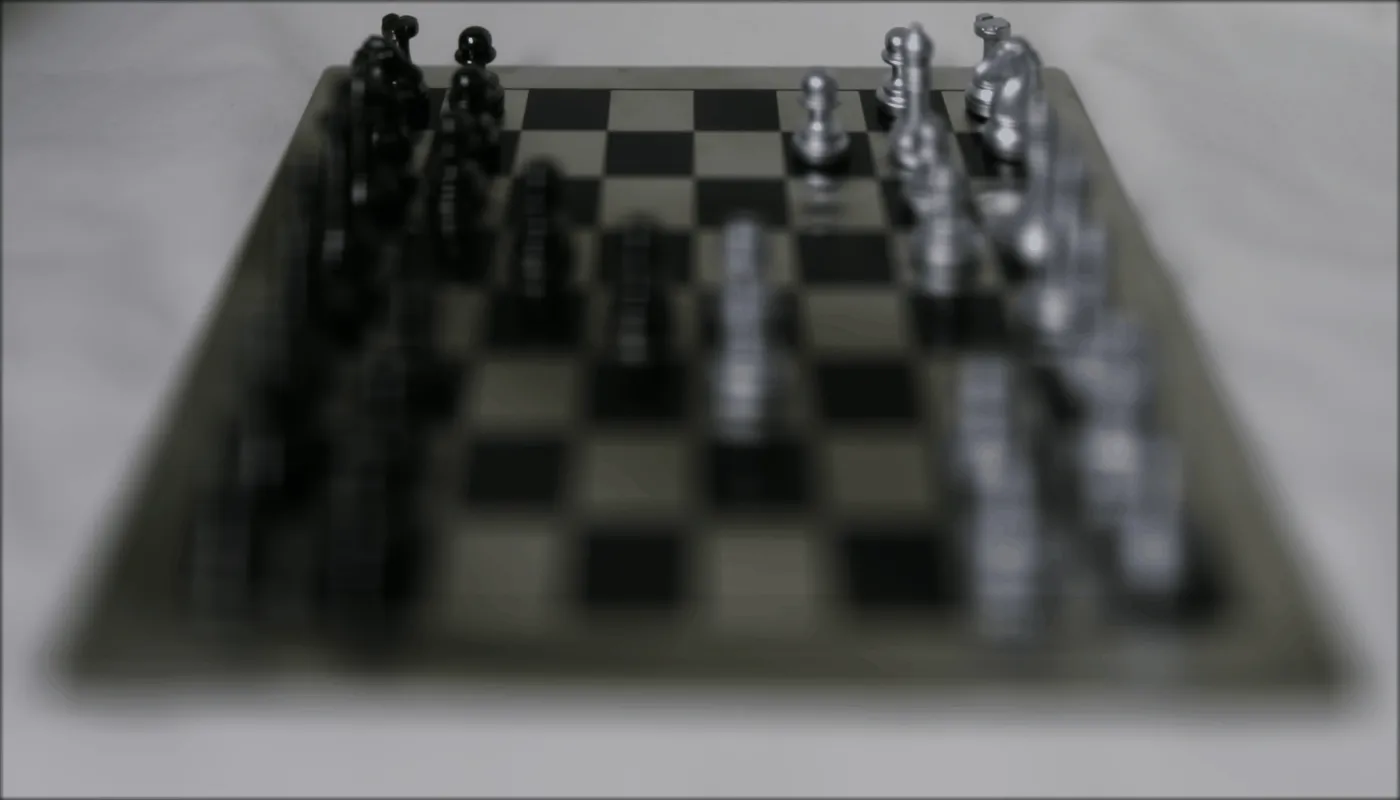
Depth = 0.0
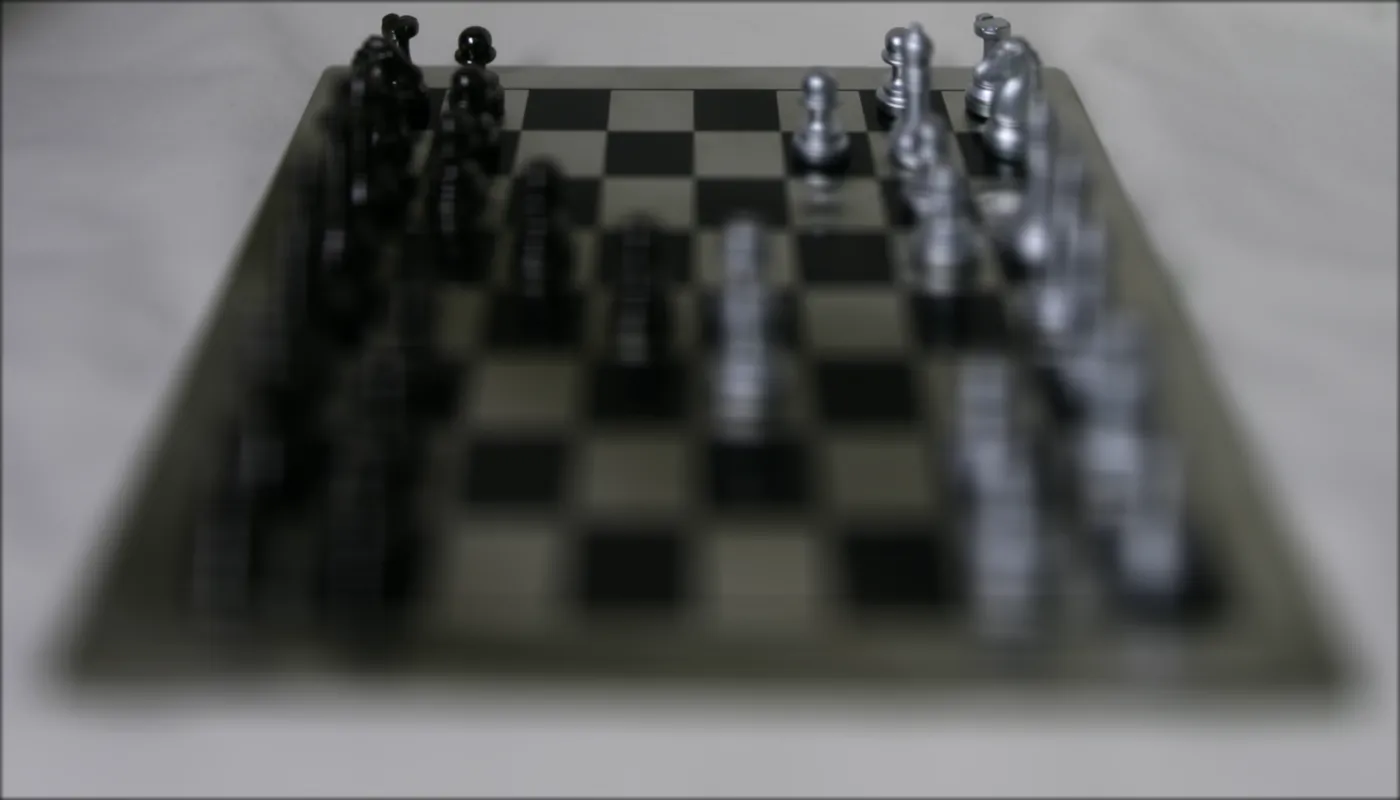
Depth = 0.1

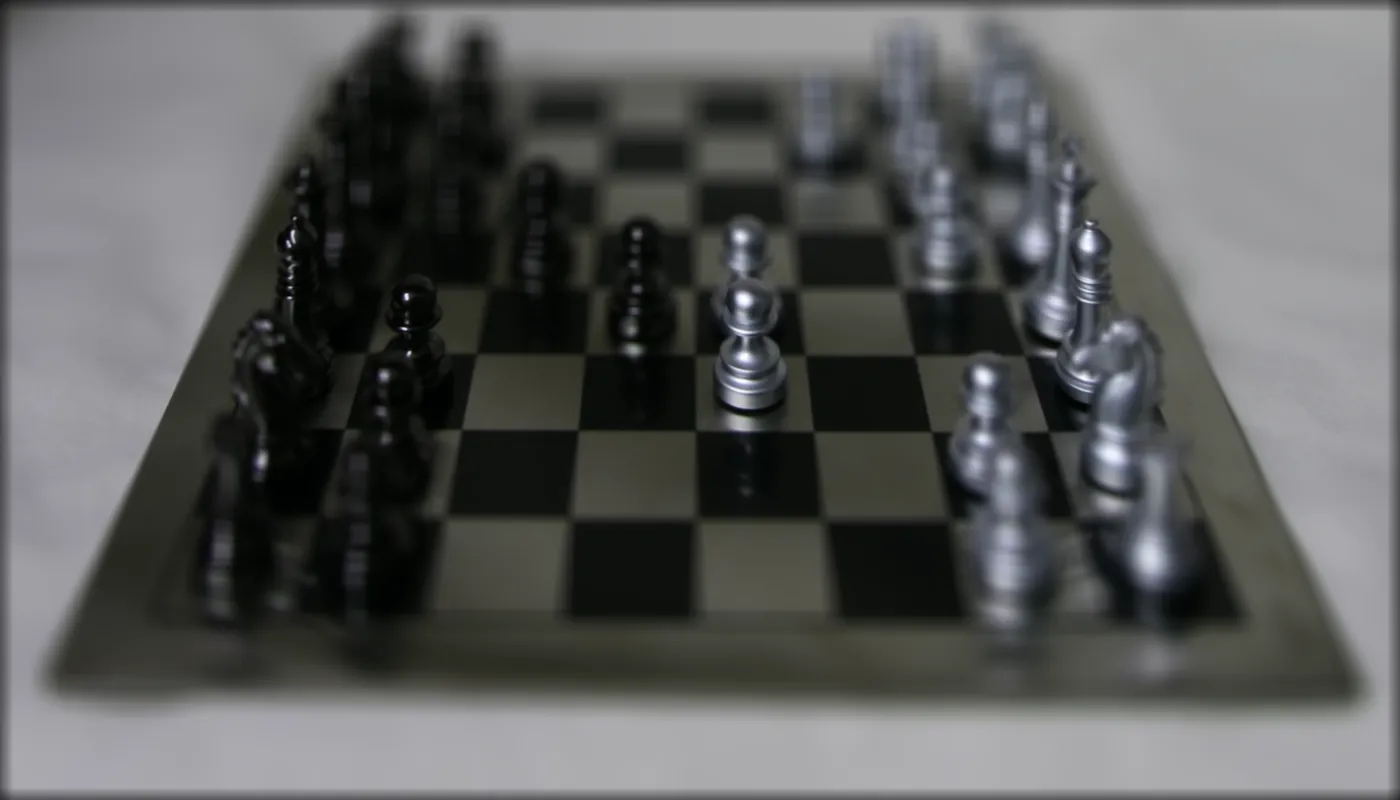
Depth = 0.2

Depth = 0.3
Depth = 0.4
Depth = 0.5
More examples (GIF):
2. Aperture Adjustment
Another cool manipulation we can do here is to mimic a camera with a larger aperture by sampling images over the grid perpendicular to the optical axis. We choose a radius (e.g. 50) and sample all images within that radius of the center image. We then shift them appropriately, as we did in section 1, and average the shifted images.
Note that the base case r = 0 means we sample only the center image. Here are the results (setting depth=0.20 to focus on the center region):
r = 0

r = 10
r = 20
r = 30
r = 40
r = 50
More examples (GIF):
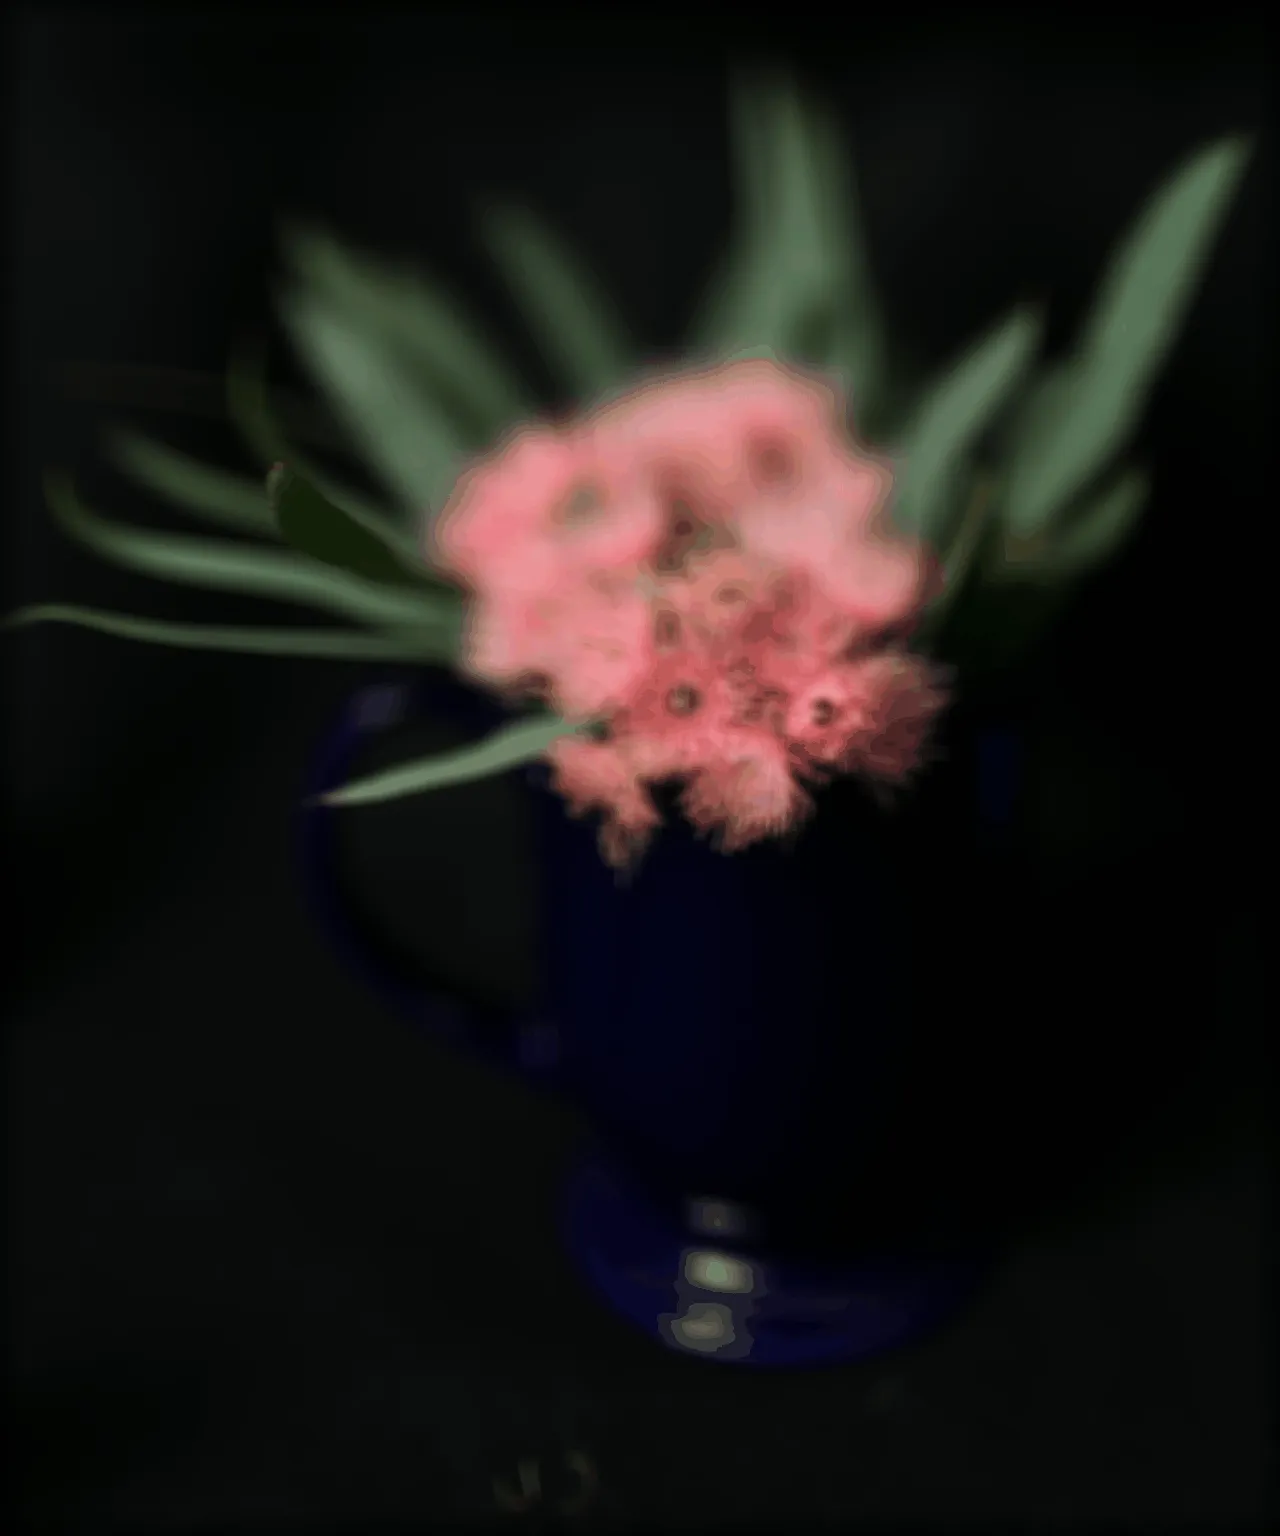
3. Interactive Refocusing
Building on the refocus_im function implemented in Part 1, I also created a function that allows us to refocus on any point of the image. The function takes in the (u, v) coordinates of the point, which can be easily read from skio’s image output. It then calculates the optimal depth for refocusing.
For example, we have the following blurry image:
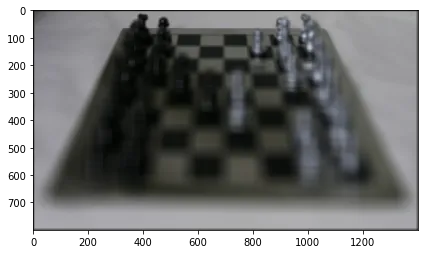
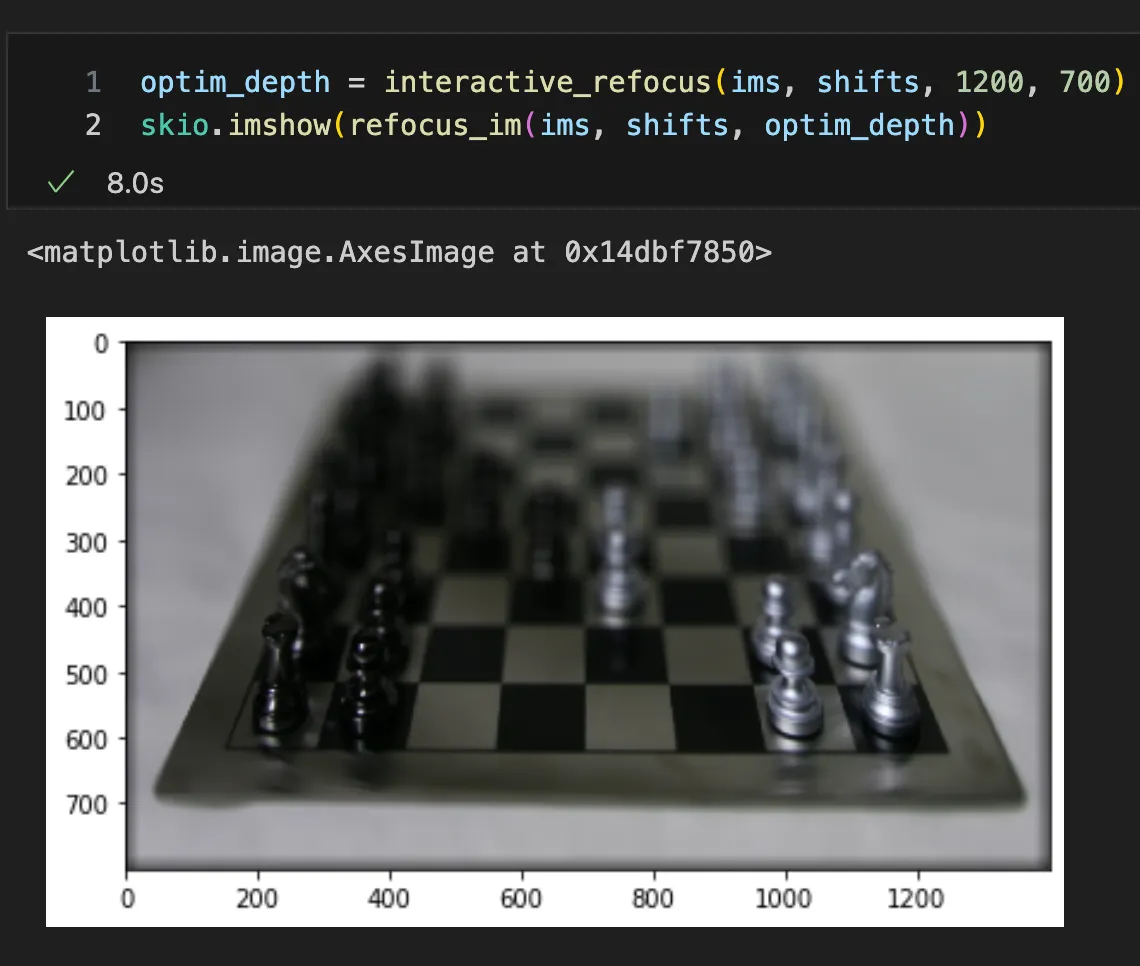
We can specify to the function that we’d like to refocus on the point at (1200, 700). Now the image is refocused!
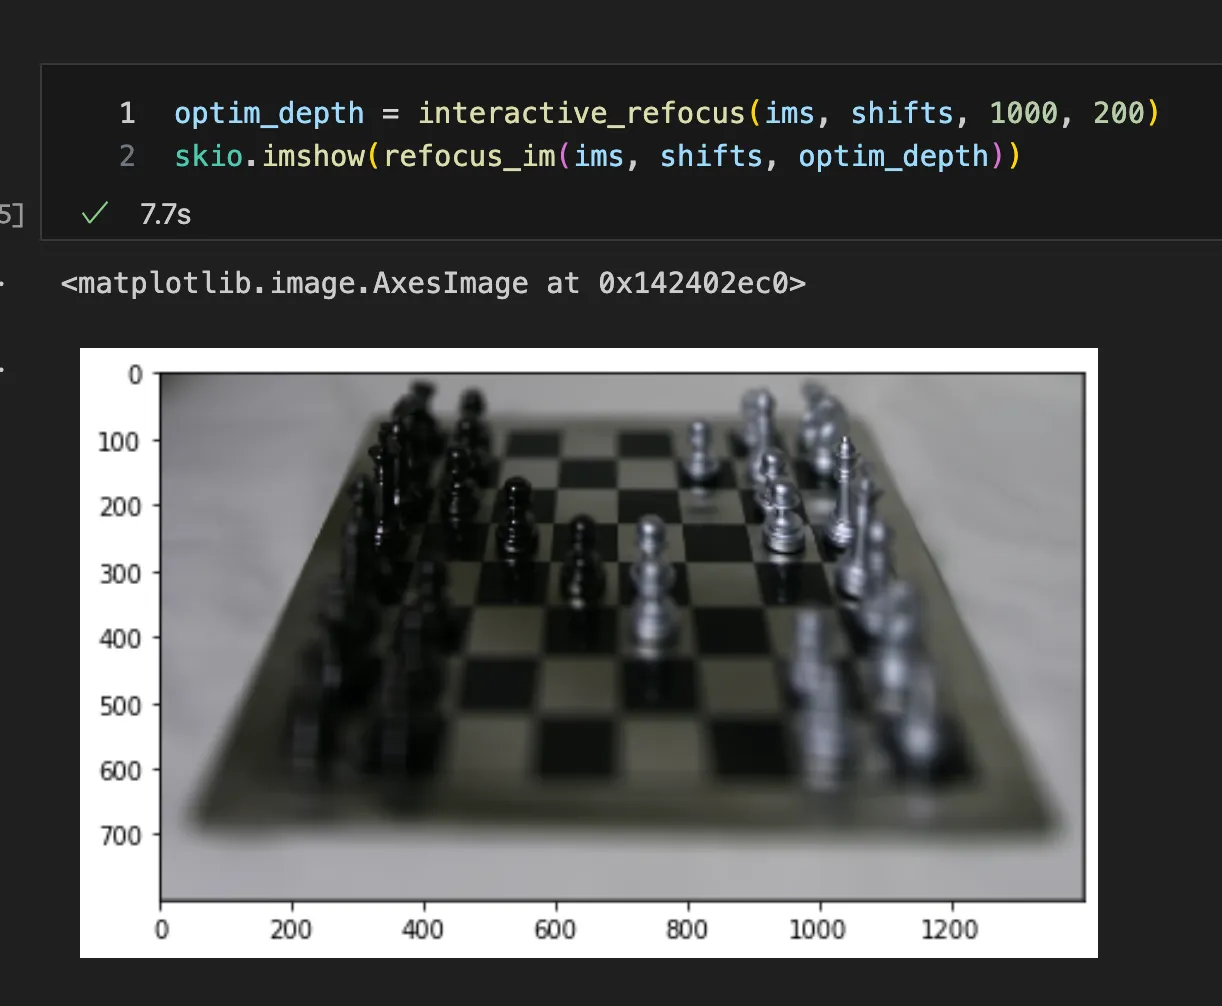
Here’s another demo: let’s refocus on the point at (1000, 200).
4. Outro
This is a really fun demo that showcases the ability to “refocus” or adjust aperture after images were taken. The method was simple but the results were rather amazing. However, I do think the current approach is limited in that we need to have knowledge of the camera coordinates of the images. In addition, we used a total of 19 x 19 = 289 images for each scene, and this might not always be possible. It would be the most effective if we can develop algorithms to learn the camera coordinates and to generate these results with fewer samples. I plan to read up more on this.